
Exterior Door Installation
Installing a new exterior door is one of the most impactful home improvement projects you can undertake, blending practicality, security, and style in a single upgrade. A door isn’t just an entryway; it’s the first thing guests see, the barrier that keeps your home secure, and a significant factor in energy efficiency.
Whether you’re swapping out an outdated door, repairing storm damage, or simply looking to give your home a fresh, modern look, understanding the process of exterior door installation is essential. From choosing the right door material, be it sturdy steel, classic wood, or low-maintenance fiberglass, to precise measuring, framing, and sealing, each step plays a crucial role in achieving a flawless fit and finish.
This guide will walk you through everything you need to know, offering clear instructions, expert tips, and insights into costs and common mistakes to avoid. By the end, you’ll not only understand how to install an exterior door but also how to maximise its benefits for security, energy savings, and curb appeal.
Exterior Door Installation – Key Information Table
| Category | Details |
| Why Replace Your Exterior Door? | – Enhanced Security: Modern reinforced doors and locks. – Energy Efficiency: Insulated doors cut heating/cooling costs. – Curb Appeal: Stylish designs boost your home’s look. – Added Value: Raises resale value. |
| Types of Exterior Doors | Entry Doors: Steel (secure, affordable), fiberglass (durable, low maintenance), wood (classic look, needs upkeep), Composite (mixed materials, tough), Wrought Iron (very secure). Patio Doors: Sliding glass (space-saving), French (hinged elegance), Sliding French (blend of both), Storm doors (extra weather protection). |
| Door Installation Types | Prehung Doors: These come with a frame, making installation easier. Slab Doors: Door only, requires more skill to fit into an existing frame. |
| Step-by-Step Installation Summary | 1️⃣ Remove the old door unit & clear frame. 2️⃣ Inspect & measure rough opening. 3️⃣ Prepare opening (clean, level, caulk). 4️⃣ Install sill pan (if needed). 5️⃣ Set the door in place. 6️⃣ Level & shim. 7️⃣ Fasten the frame securely. 8️⃣ Insulate & seal edges. 9️⃣ Install hardware. 🔟 Test operation & make adjustments. 1️⃣1️⃣ Finish with trim & final touches. |
| Common Installation Mistakes | Incorrect measurements Ignoring the level & plumb Poor shimming Over-tightening screws Skipping insulation & sealing |
| DIY vs. Professional Installation | DIY Pros: Saves money, flexible schedule, satisfying. DIY Cons: Time-consuming, requires skill/tools, risk of mistakes. Pro Pros: Expertise, faster, guarantees quality. Pros and Cons: Higher Cost, Less Personal Control. |
| Cost Breakdown | Average cost: $1,452. Range: $546 – $2,374. Simple Projects: From $200. Complex Installations: $7,000+. Labour Costs: $30–$90/hr. Extra Costs: Permits, old door disposal, contractor fees (13–22%). |
| Signs You Need a New Door | – Drafts even after sealing.- Water leakage after rain.- Warped, rotten, or swollen frame.- Door sticks or locks poorly.- Cosmetic damage or outdated design. |
| Choosing a Professional | – Research reviews & ratings.- Check licences & insurance.- Get 2–3 quotes.- Maintain clear communication. |
| Best Door for Durability | Steel – strongest & most secure. Fiberglass – durable & affordable. |
Why Replace Your Exterior Door?
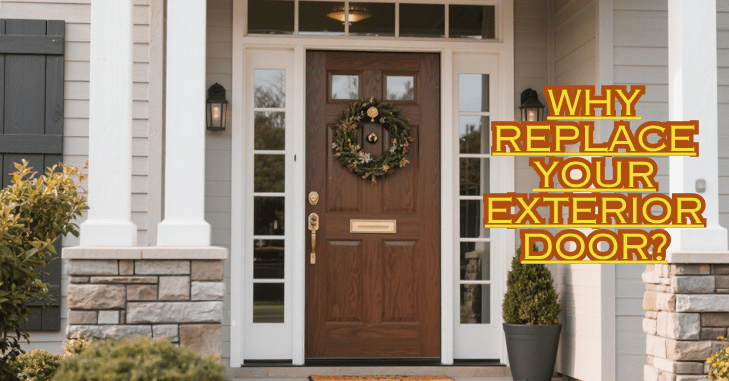
Replacing your exterior door can bring numerous benefits:
- Enhanced Security: Modern doors offer reinforced construction and robust locking systems.
- Improved Energy Efficiency: Insulated doors reduce energy consumption and lower heating/cooling costs.
- Increased Curb Appeal: A stylish new door can significantly enhance your home’s visual appeal.
- Added Value: Well-installed doors can increase your home’s resale value.
Planning Your Door Installation
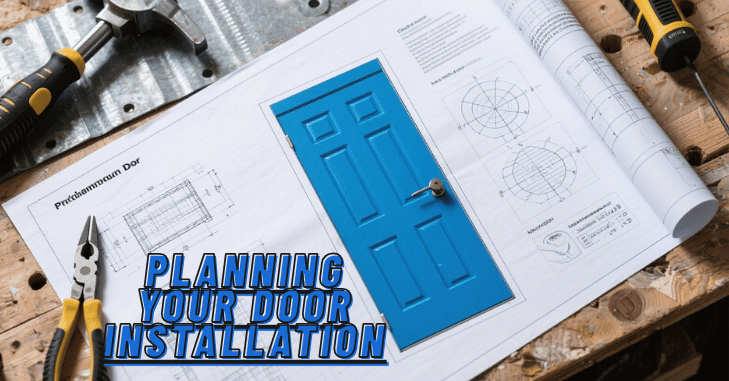
Before you begin, careful planning is essential. Start by choosing the right door, taking into account the material, style, and features that suit your needs and budget. Next, measure the opening with precision. Accurate measurements of the width, height, and depth at multiple points are critical for a proper fit.
Types of Exterior Doors
Understanding the different types of exterior doors is crucial for making the right choice for your home. Here’s a breakdown of standard options:
Entry Doors
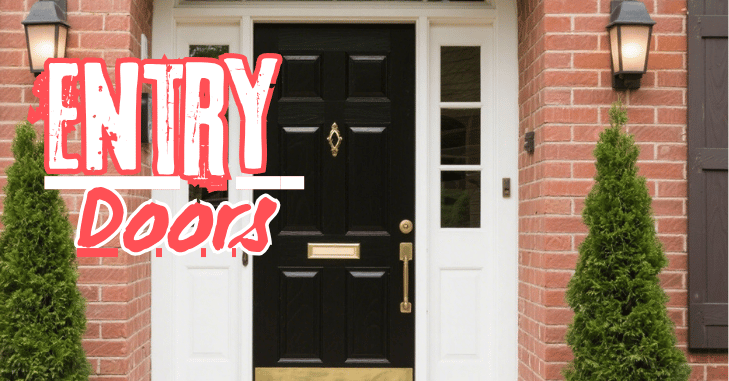
These are sturdy doors with keyed entry locks and customizable features.
- Steel Doors: Offer excellent security and are budget-friendly, but can be prone to dents. They often have tighter-fitting frames and energy-efficient core insulation.
- Fiberglass Doors: Durable, weather-resistant, and low-maintenance, with good insulation properties. They can mimic the look of wood and are more dent-resistant than steel.
- Wood Doors: Provide a classic, beautiful look, but require regular maintenance and may not be as secure as steel or fiberglass. They are best suited for sheltered entryways.
- Wrought Iron Doors: Highly secure and durable, able to withstand the elements. These can be customized with different types of glass and hardware.
Patio Doors
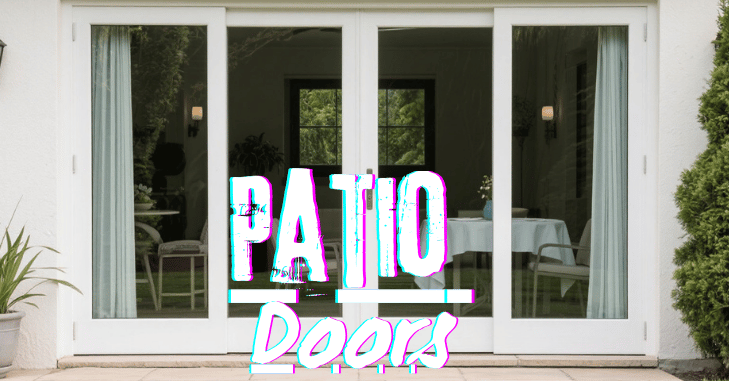
Typically feature large glass panels and slide or swing open to provide access to patios or decks.
- Sliding Glass Doors: Feature two glass panels that slide open.
- French Doors: Offer a traditional aesthetic with doors that open on a hinge.
- Sliding French Doors: Combine the look of French doors with the space-saving ability of sliding doors.
Prehung vs. Slab Doors
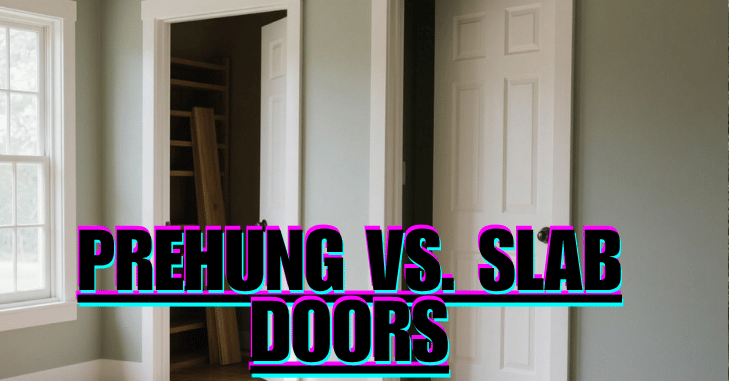
When choosing an exterior door, you’ll typically encounter two main types:
- Prehung Doors: Come already mounted in a frame, making installation easier and ensuring a proper fit. Ideal for new construction or complete replacements.
- Slab Doors: Consist of just the door itself, without a frame, hinges, or hardware. More design flexibility is available, but it requires more skill and effort to install.
Step-by-Step Exterior Door Installation

Here’s a detailed guide to installing an exterior door:
Remove the Old Door Unit
Begin by removing the old door unit. Detach the existing door by unscrewing the hinges from the jamb and gently prying the jamb away with a pry bar, taking care not to damage the surrounding frame. Once the door and jamb are out, clear the structural frame of any debris so the new door has a clean surface to sit against.
Inspect the Rough Opening
Next, inspect the rough opening. Take accurate measurements of the height and width at several points to confirm the space is the correct size for your new door. Check that the opening is level, plumb, and square, and ensure the subfloor beneath the threshold is even.
Prepare the Opening
Prepare the opening by cleaning it thoroughly and removing any leftover debris or old caulk. Verify that the subsill is level, making adjustments if needed. At this stage, install a drip cap or Z-flashing above the door opening to protect against water intrusion, and apply a bead of caulk along the framing where the new door’s exterior trim will meet the wall.
Install the Sill Pan (if applicable)
If applicable, install a sill pan to prevent water damage over time. Cover the sill area with self-sticking flashing tape for added protection before positioning the new door.
Set the Door in Place
You are now prepared to install the door. Carefully slant the door unit into the aperture after lifting it with assistance. Make sure the unit beds snugly into the caulk for a waterproof seal by sliding the outer molding up beneath the Z-flashing and pressing it firmly into place.
Level and Shim
Level and shim the door to make sure it operates correctly. Temporarily secure the door by placing a screw near the top of the hinge-side jamb. Examine the gaps between the door and its frame to ensure they are even, and add shims behind the hinges and along the lock side for consistency.
Fasten the Frame
Once the door is aligned, fasten the frame. Use long screws — at least three inches — to attach the frame securely to the wall studs, tightening them carefully without over-tightening, which could distort the frame.
Insulate and Seal
With the frame secured, insulate and seal the space between the doorjamb and the frame using low-expanding foam. Caulk around the exterior edges to block drafts and water intrusion.
Install Hardware
The next step is installing the hardware. Fit the lockset according to the manufacturer’s instructions, attach the strike plate to the frame, and add any extra accessories such as a door sweep or storm door for additional protection.
Check Operation
After installation, check the operation of the door. Open and close it several times to ensure it swings smoothly and that the lock engages correctly. Make any minor adjustments as needed for perfect functionality.
Finishing Touches
Finally, finish the job with neat details. Install new trim if required, cut and trim the shims, and fill any gaps between the stud and the door frame with insulation or minimal expanding foam before replacing the casing. Fit either existing or new casing, secure it with finish nails, and set and fill all visible fastener holes for a polished look.
Common Installation Mistakes and How to Avoid Them?
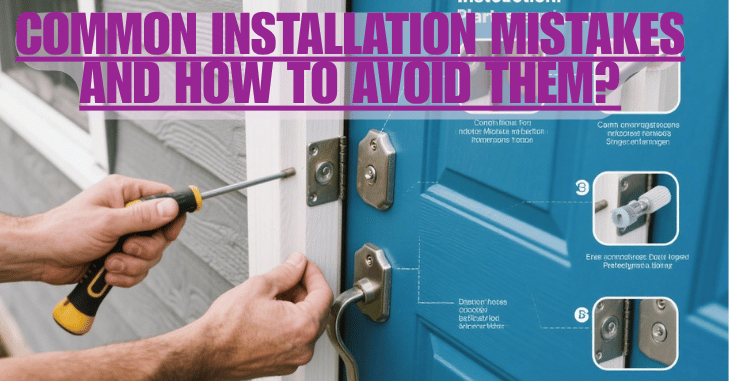
Even experienced DIYers can make mistakes during door installation.
- Incorrect Measurements: Always measure accurately and double-check your measurements.
- Improper Shimming: Position shims correctly to ensure the door frame is stable and aligned.
- Using Incorrect Fasteners: Use screws of the appropriate length and type to fasten the door frame to the wall studs securely.
- Failing to Check for Squareness: Ensure the door frame is square to prevent the door from binding.
- Using the Wrong Tools or Hardware: Invest in high-quality hardware and use the appropriate tools for the job.
- Overlooking Insulation: Insulate properly to prevent energy loss.
- Not Preparing the Frame Properly: Inspect the frame for warping, rot, or structural weakness.
- Over-Tightening Screws: Tighten screws just enough to keep everything in place, but not too much.
- Poor Sealing: Caulk and seal your exterior door to keep drafts and water out.
DIY vs. Professional Installation
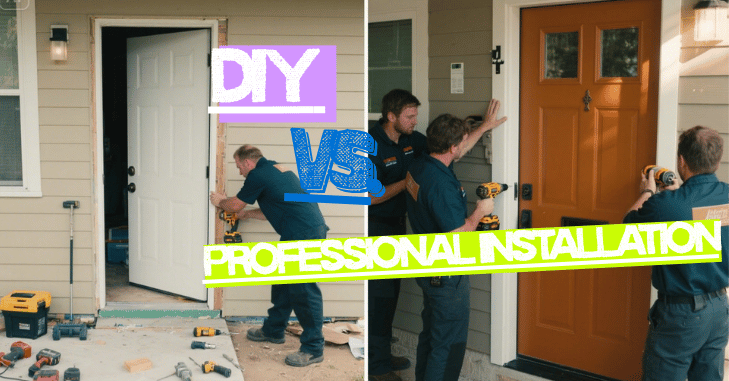
Deciding whether to install an exterior door yourself or hire a professional depends on your skills, budget, and the complexity of the job.
DIY Installation
- Pros: Cost savings, flexible timing, personal satisfaction.
- Cons: Requires skill, time-consuming, may require specialized tools, and there is a potential for mistakes.
Professional Installation
- Pros: Time efficiency, expertise and experience, assurances, and tranquility.
- Cons: Higher initial Cost, may need to align with their schedule, less personal control.
Cost of Exterior Door Installation

The cost of exterior door installation can vary widely depending on several factors. The type and material of the door play a significant role, with steel doors generally being less expensive than wood or fiberglass options. Since door installers usually charge between $30 and $90 per hour, labor costs also affect the final price.
The cost may increase significantly with extra features like sidelights, transoms, or improved hardware. Homeowners typically pay $1,452 on installation, while the range can be as low as $546 or as high as $2,374. Complex installations can cost $7,000 or more, while simple projects could cost as little as $200.
In addition, there are additional expenses to take into account, which can raise the project’s overall cost by 13% to 22%. These expenses include permits needed by local building rules, fees for removing and discarding the old door, and additional charges if you engage a general contractor.
Choosing the Right Professional
If you decide to hire a professional, here are some tips for finding the right one:
- Research: Look for reputable installers with good reviews
- Credentials: Check for licenses and insurance
- Get Multiple Quotes: Compare quotes from different installers
- Communicate Clearly: Ensure clear communication with the installation team.
By following these guidelines, you can ensure a successful exterior door installation that enhances your home’s security, energy efficiency, and curb appeal.
Signs You Need a New Exterior Door
- Persistent drafts even after replacing the weather stripping.
- Water infiltration around the door after heavy rain.
- Visible warping, rot, or swelling in the frame.
- The door is difficult to open, close, or lock.
- Apparent cosmetic damage or outdated style.
Conclusion
A properly installed exterior door offers security, energy savings, and style. Every step, from measuring and weatherproofing to shimming and caulking, counts for a successful, long-lasting result. Invest time and attention during installation, and you’ll enjoy reliable performance for years.
Installing an exterior door can be a rewarding DIY project that enhances your home’s security and appearance. By following this guide, you’ll ensure a successful installation that meets your needs and preferences. Whether you choose to tackle the project yourself or hire a professional, understanding the process will help you make informed decisions. Happy installing!
Want to know about “Light Wood Nightstand: A Perfect Blend of Elegance and Functionality, Its Benefits, Key Features, Maintenance, and More” Check out our “Home Improvement” category.
FAQs
The typical cost of installing an outside door is $1,397; however, costs might vary from $547 to $2,291 or more. The type of door, the material, the size, and the labor all have a significant impact on the total cost. To obtain a precise cost for your job, it is essential to compare estimates from reliable installers.
Installing front doors is not always simple. To get them to swing perfectly, they need a delicate touch. Nevertheless, replacing an old external door with a new one may be a simple and doable do-it-yourself project, provided all the right factors are present and sound judgment is used.
Steel doors are the finest choice for durability and security because of their strength. A fiberglass door would be the best choice if you’re on a tight budget and need a sturdy, affordable option.
Installing or hanging a door isn’t as complicated as it looks. If the new door core is the same size as the old one, replacing the old door is simple. Purchasing a prehung door eliminates the need to construct the door frame, making it simple to install a door in a newly built partition wall.